Just one more! I'm having so much fun with my new materials.
Saturday, February 9, 2013
Friday, February 8, 2013
New Spring Wreaths!
Just wanted to share a few of the wreaths I've been working on. The first two are variations using a new chevron printed burlap that I found at Hobby Lobby. I left the edges raw and added some burlap flowers and an initial.
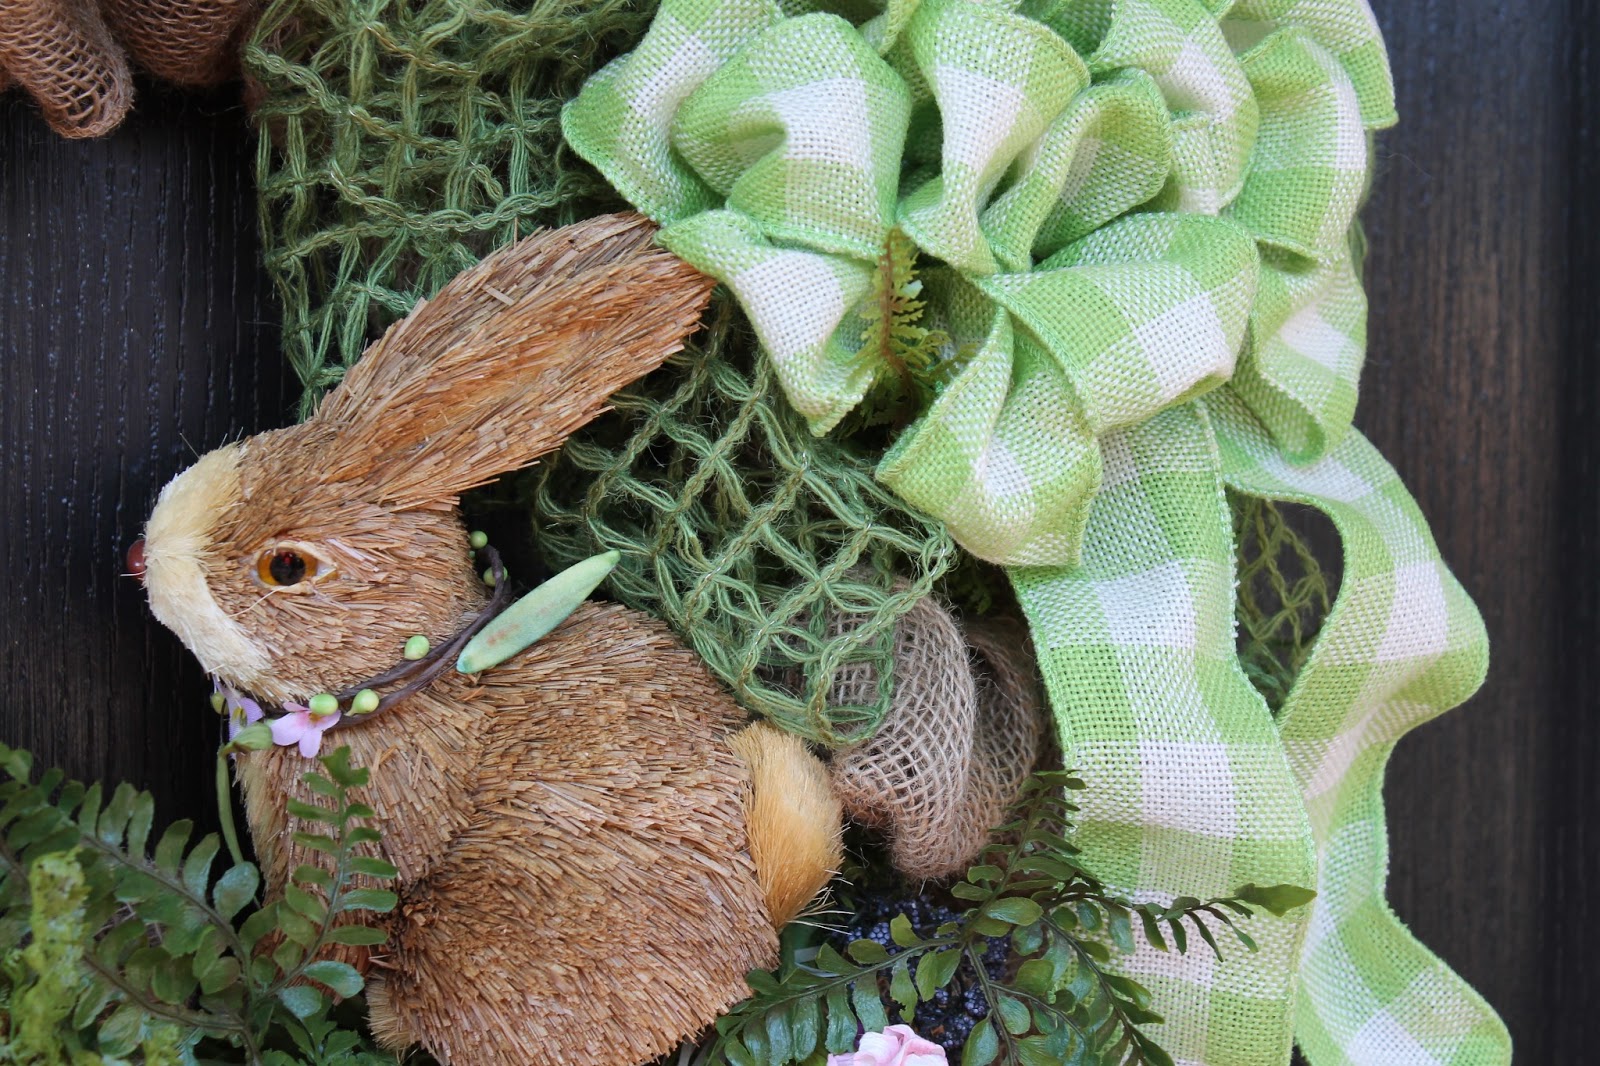
I've also been making a few wreaths combining my burlap with some natural elements that I found at a local floral retailer. I love the look of Spring with these two.
Sunday, February 3, 2013
Happy Valentine's Day!
I'm just getting back into the wreath making mode after a busy holiday season. Someone remarked that I didn't have any wreaths on my door (for about 2 weeks) so I went to Hobby Lobby for some new deco mesh that I had seen there and came up with a fresh new Valentine's Day wreath. I'm not putting it on Etsy since it's so close to Valentine's Day, but if you know of anyone who'd like one, let me know.
I've also been making a few wreaths for some friends. Here's a Mardi Gras wreath that I loved making! At first it was difficult to find any Mardi Gras material in Georgia, but I came up with some items at a local Floral supply store, found some things at Hobby Lobby and hit the jackpot at some local dollar stores. The Fleur-de-Lis and Mardi Gras ribbon I found at mardigrasoutlet.com, always a great supply for deco mesh!
This is not the greatest picture (I still need to work on those skills), but I made this wreath for a friend whose son goes to Auburn. I hope to be making many more college wreaths this Spring for new college freshmen. I'm always interested in any ideas on finding college decorations for the wreaths.
Sunday, December 30, 2012
Monday, December 10, 2012
Merry Christmas!
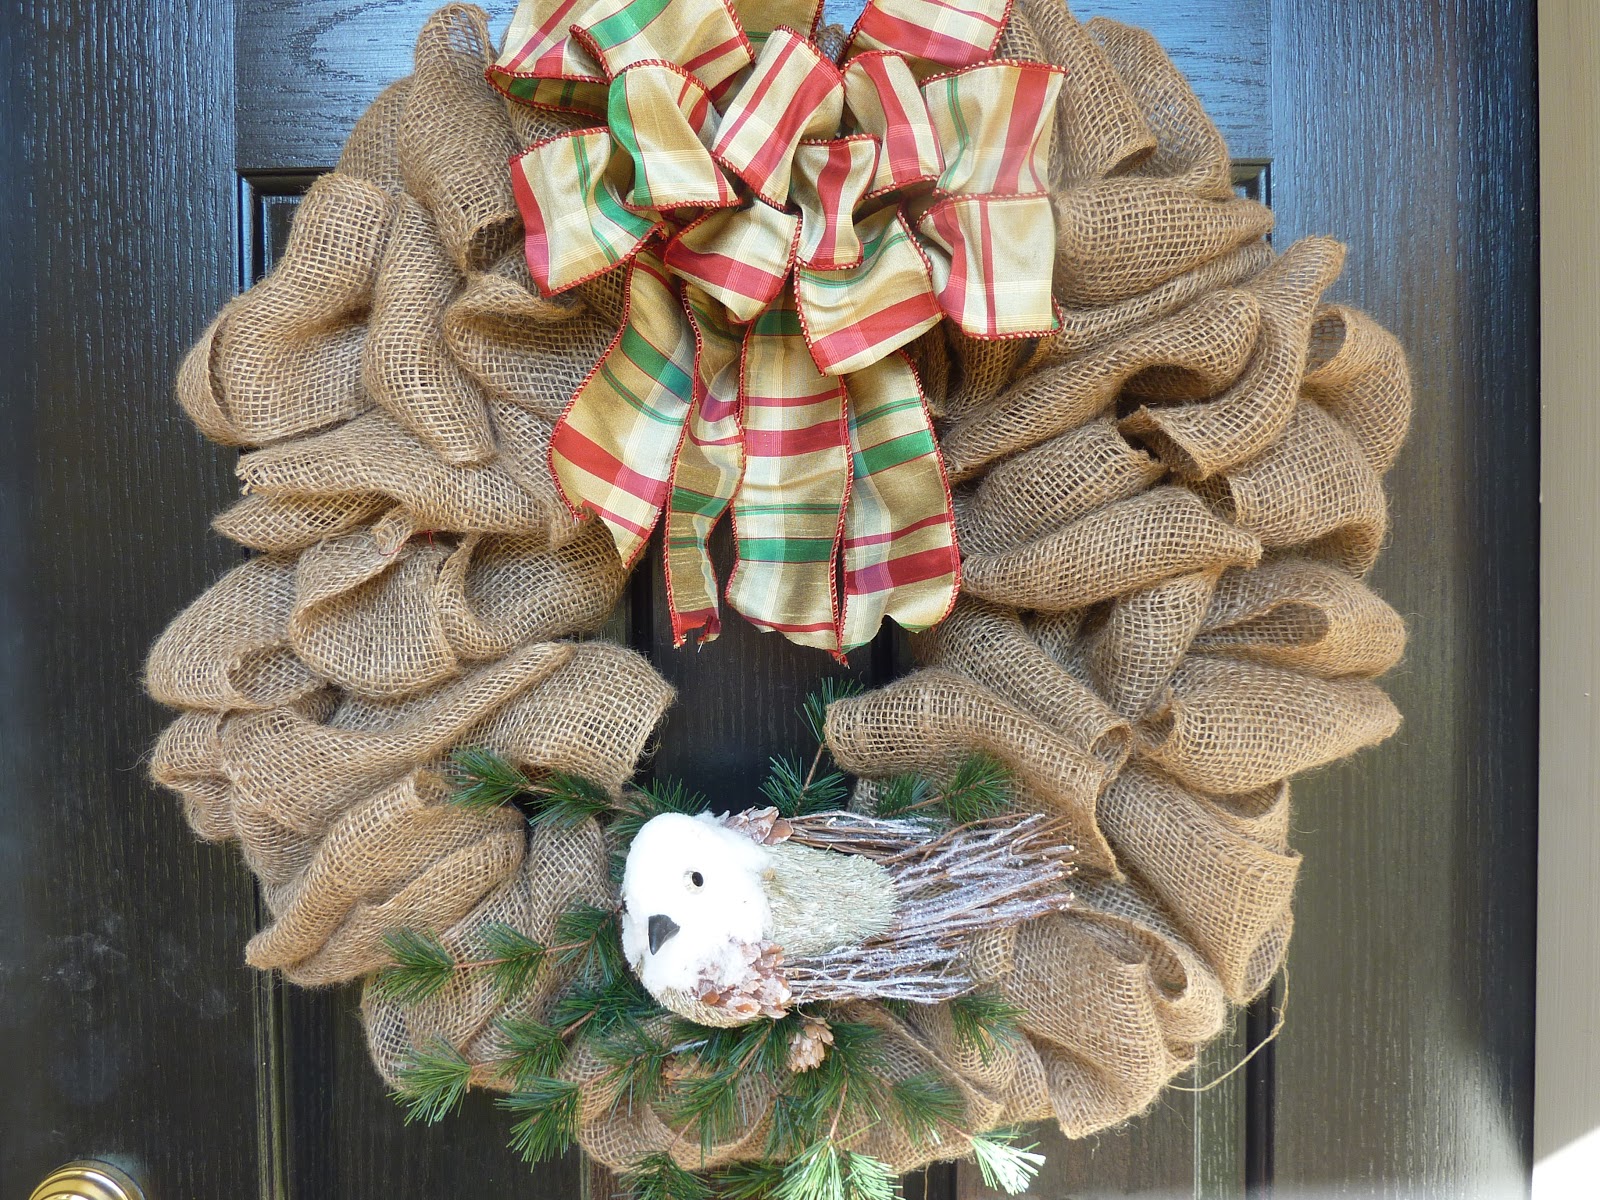
My daughter informed me that since I've started a new business using Deco Mesh, I should makeover our Christmas decorations in Deco Mesh. Here's our new front entryway. Merry Christmas to all and I can't wait to begin my new projects next year!
Friday, November 30, 2012
Burlap Garland Tutorial
I saw burlap garland on Pinterest a few weeks ago and decided to try and figure out how to make it. It's really very easy and adds so much to my natural Christmas Tree. I'll be making many more for my mantle and stair banisters! Here's how I did it.
You only need jute ribbon (I get mine from Michael's), 22 gauge florist wire, buttons and scissors. I use the buttons at the ends to adjust how full I want the garland to be. If you want it fuller or for a smaller space you can untwist the wire from the buttons and slide them in towards the middle of the garland more and re-twist the wire around the button again.
Unwrap the jute ribbon of all it's packaging. Don't pre-cut the wire. I just slide one of the buttons on and pull out about one to one and a half feet of wire through the button. You will keep pulling the wire through the button until you finish the garland. I then push the wire through about an inch and a half of jute ribbon starting at the beginning of the jute ribbon roll.
You can see how I thread the wire through the jute ribbon. Just continue doing this until you get to the end of the roll. You can add more than one roll of jute ribbon to each garland, but the wire can become kinked as you go and it gets harder to work with. I used one roll of jute ribbon per garland and pieced them together in my tree.
When you get to the end of your ribbon thread the wire through another button through 2 holes so you can twist it and lock it as the end. See above. Adjust the garland to the length and fullness you desire and then cut the wire between the first button and the wire roll and tread the wire through the second hole of the first button and twist as you did the other button.
There you go! I hope my directions were easy to understand. Hope you have luck with it and will use it to decorate your home for Christmas.